Metallic Epoxy Flooring


It is crucial to know that metallic epoxies can only be used in interior settings with minimal exposure to UV rays. Now it is time to get your concrete ready for application. This is the step that has many homeowners call the pros as it can be very strenuous and expensive to do. First, you will need to clean the concrete slab. This can be done with a high output pressure washer with at least 3500 PSI and stains will need to be dealt with so your epoxy perfectly adheres to the concrete. There are powders that can be applied or chemical agents that can make stains disappear in the blink of an eye.
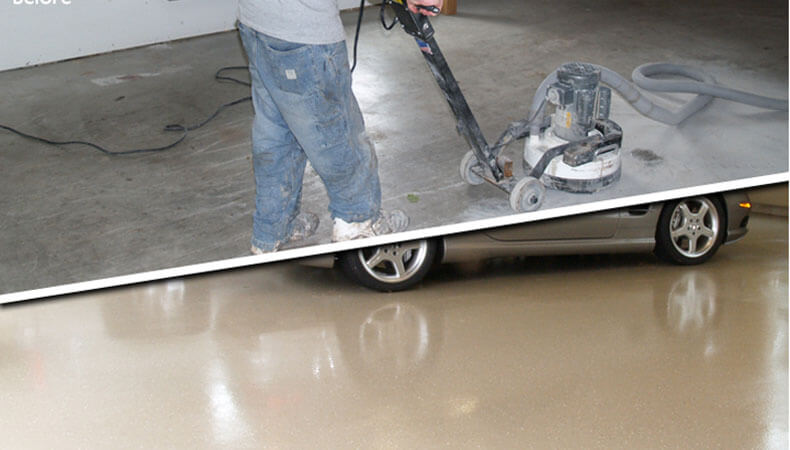
Now its time to open the pores of the slab and there are 2 options to do this, both of which require expensive tools that need to be bought or rented from your local hardware store. Option one is the use of a diamond wheel grinder to shave small amounts of concrete off to expose the concretes pores. The other option is to use a shot blaster but many homeowners opt-out of this option because of the huge mess this option brings. Now it is time to talk about applicating your material.

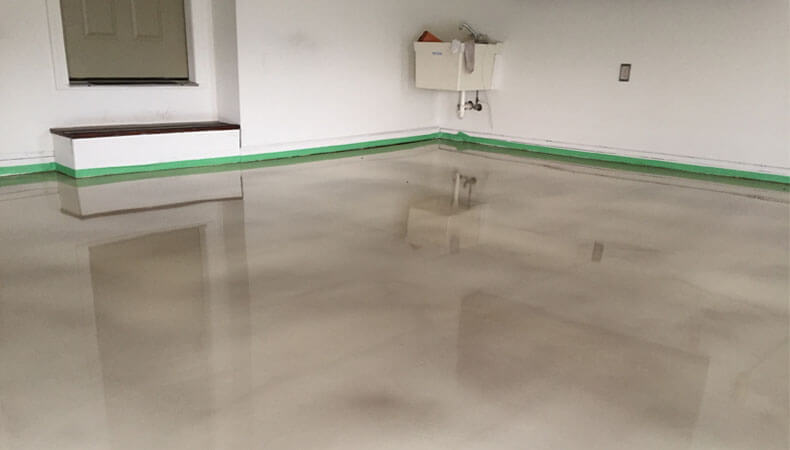
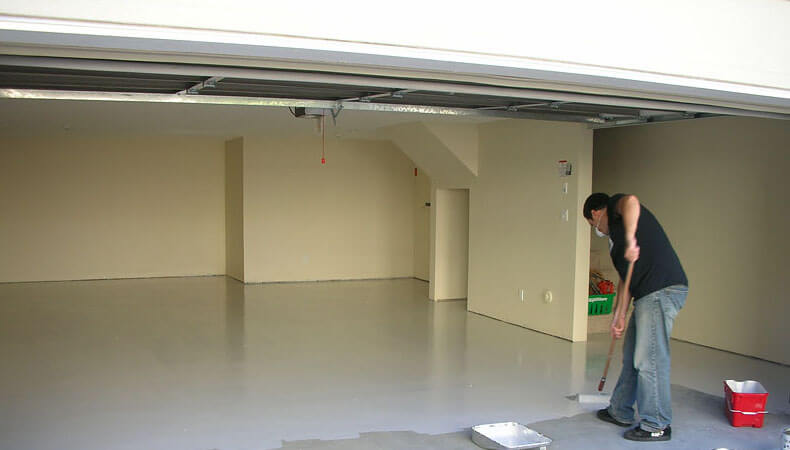
Most of the metallic epoxies that you can find on the market require a 2 step application process so make sure you check with the materials you are using before you start the application. Today, we are going to be talking about the general application of metallic epoxy to get you on the right path. In terms of the tools you are going to need, make sure you have trowels, a squeegee or roller, and concrete edgers on hand to make the process as smooth as possible. You want to make sure that the material you lay down is as level as possible to ensure a smooth finish. Also, make sure that you know the limits of your epoxy as most have a “set time” and after this time the epoxy will be unusable after a certain amount of time, most of which set within an hour. When it comes to the metallic pigmentation, check with the material you check with your materials, some are mixed in during the mixing process and others will need to be sprinkled into the coating as it is installed.
